Import scene data to Bannerlord Modding Kit
In this tutorial, we will see how to import SceneFromGIS results into Bannerlord Modding Kit.
Requirements | Usage |
Bannerlord Modding Kit | Map editor |
Bannerlord Modding Kit Official Documentation |
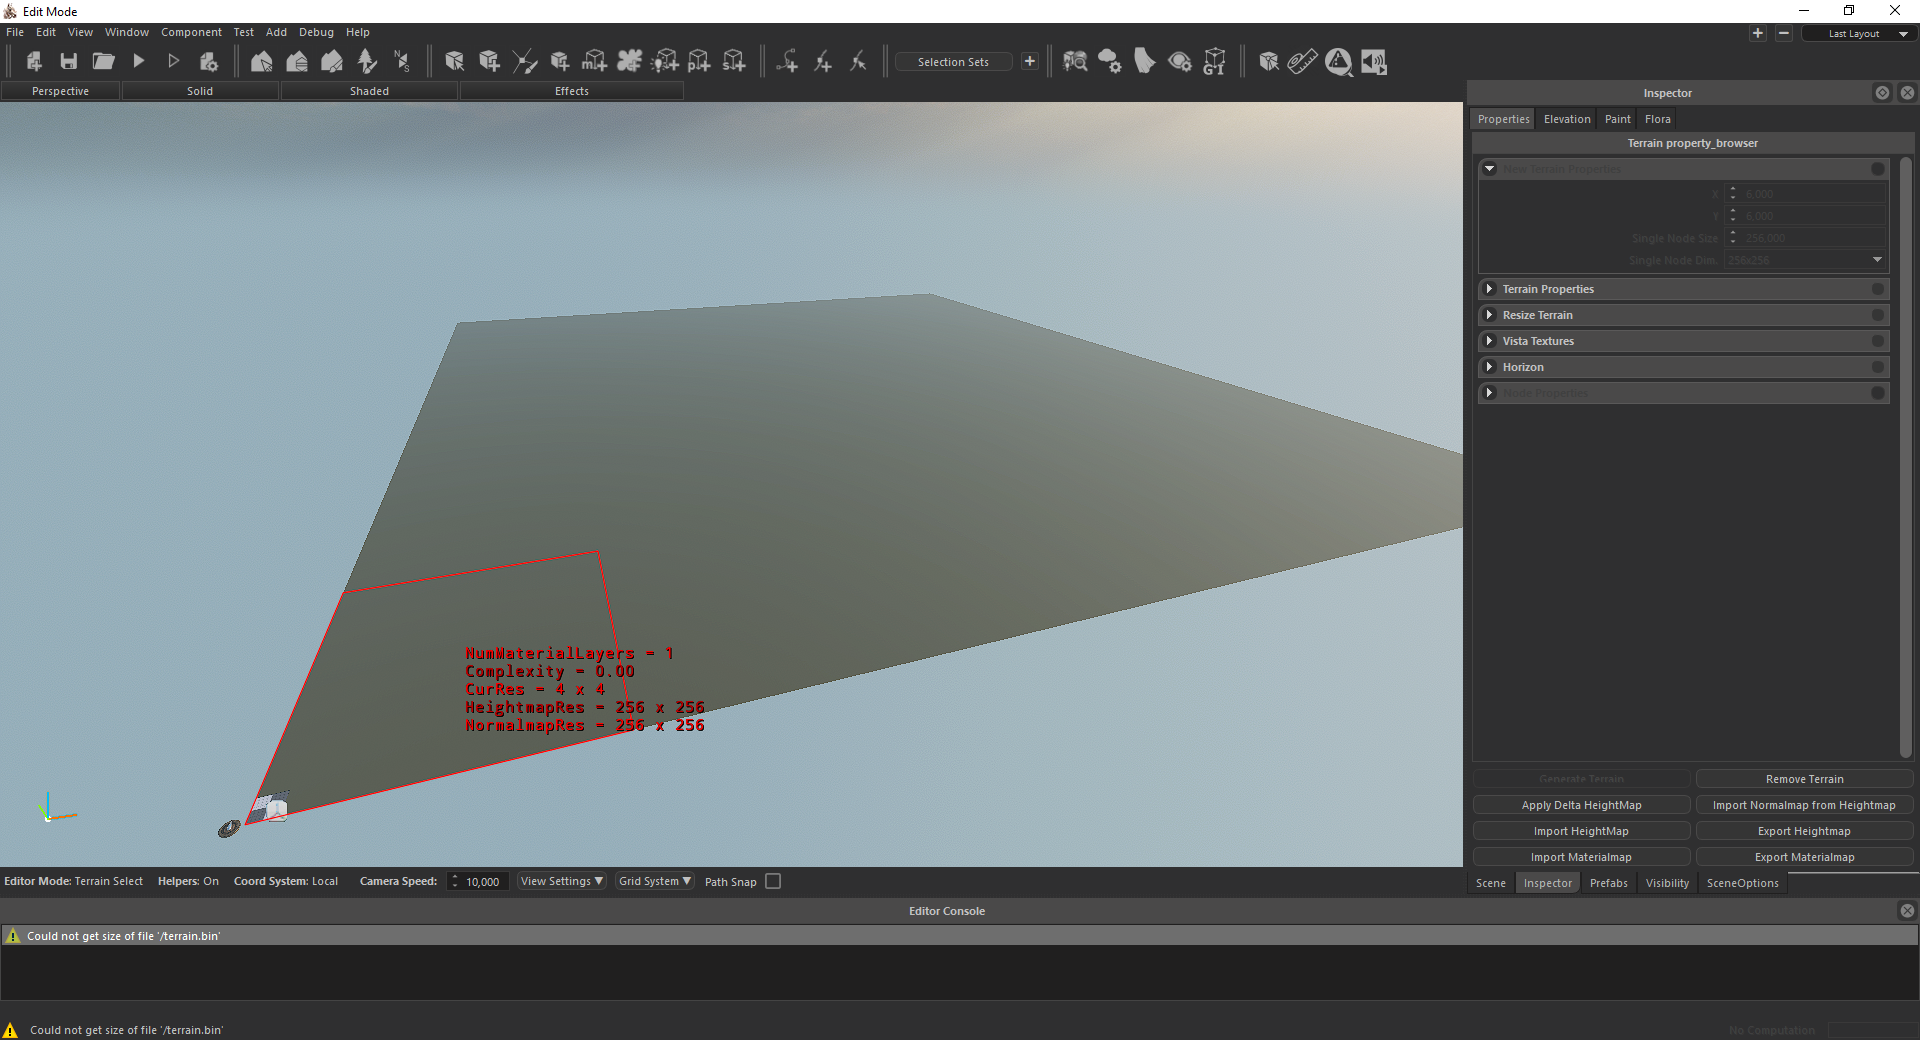
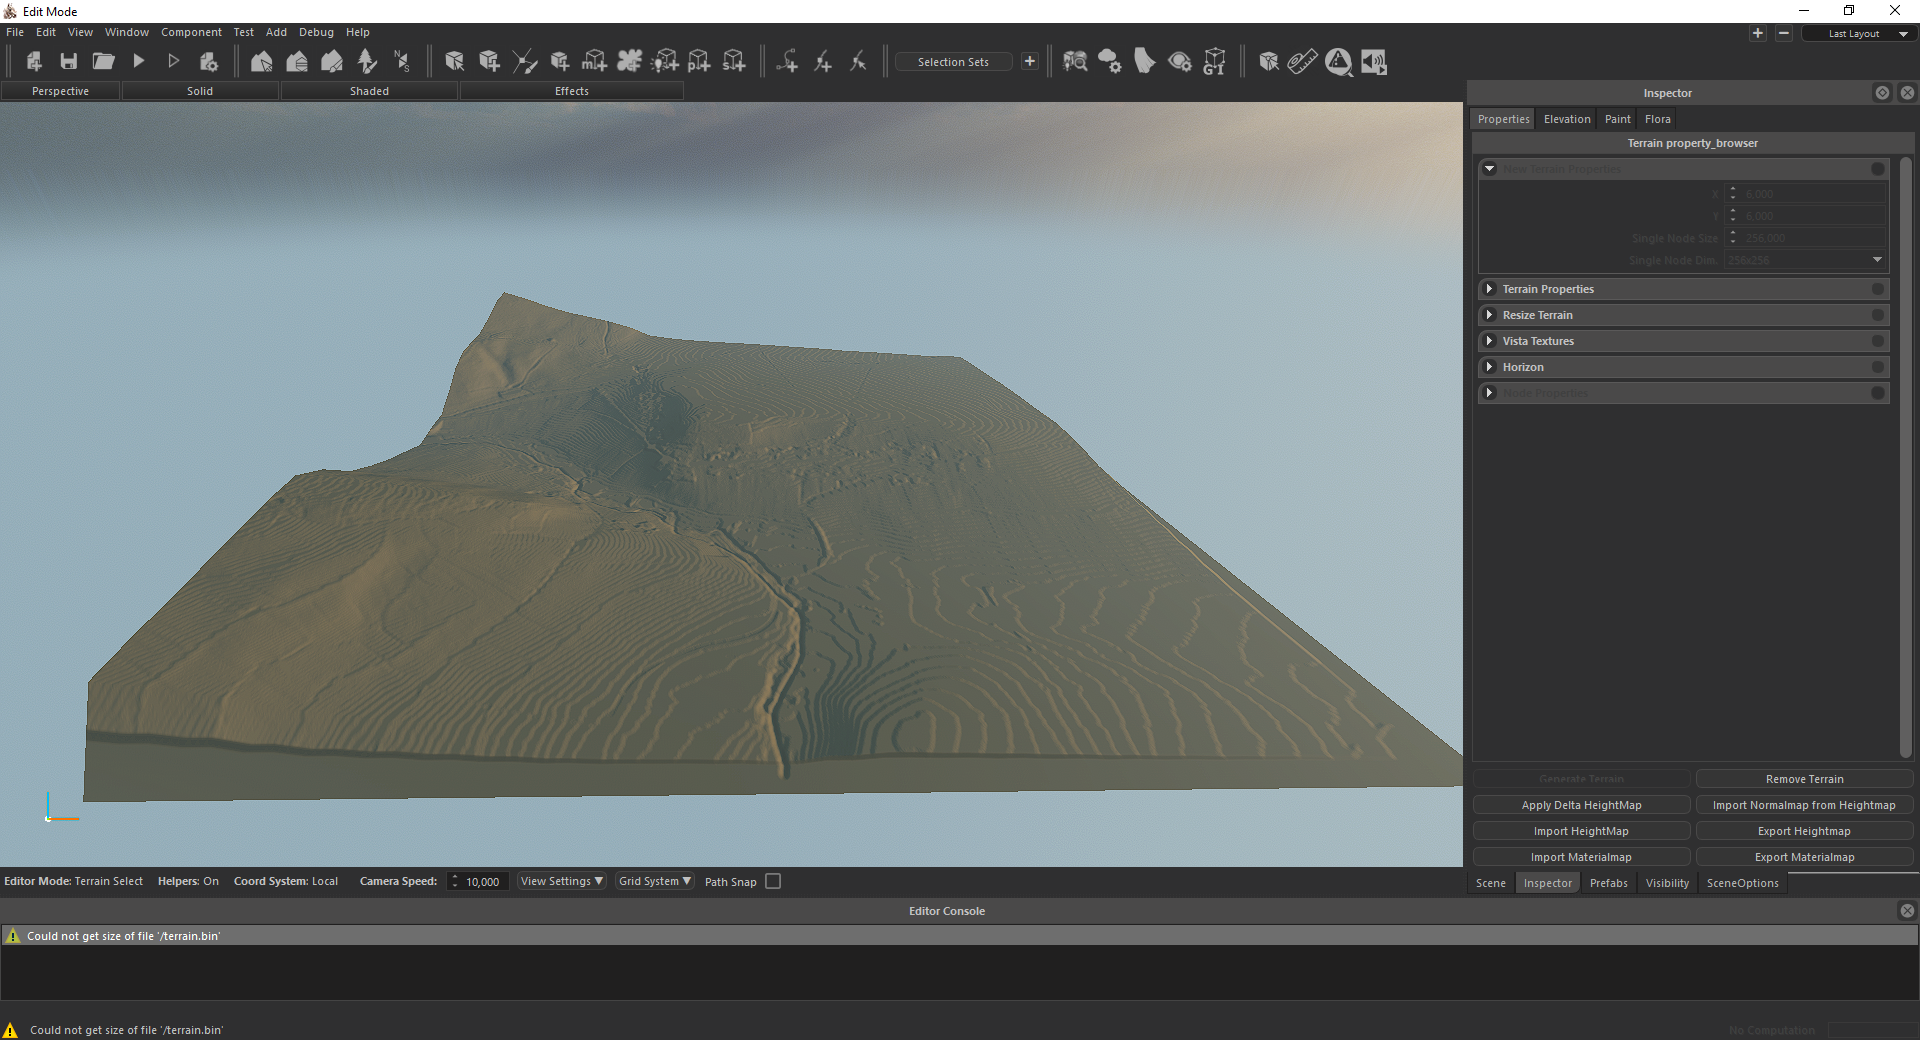
Go to the terrain generation menu. Use Alt+7 or click on the “Select Terrain” menu in the toolbar to open the terrain property browser.
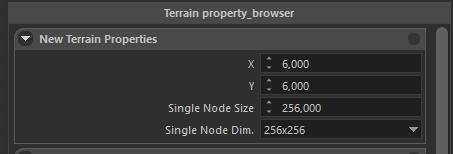
Once the menu is open, click on “New Terrain Properties” to open the menu. Then, select the value you want to create your terrain.
For example, if you use a block size of 256 in the previous tutorial examples, you can create a 6×6 map with the following values.
Example of terrain properties for a 1536×1536 terrain (block size 256) |
When values are set up, you can click on the generate terrain.
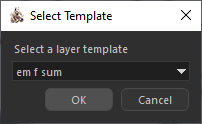
Select a layer template and click OK.
Now, we have a valid empty terrain.
Empty terrain created |
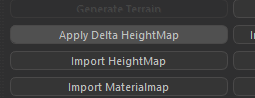
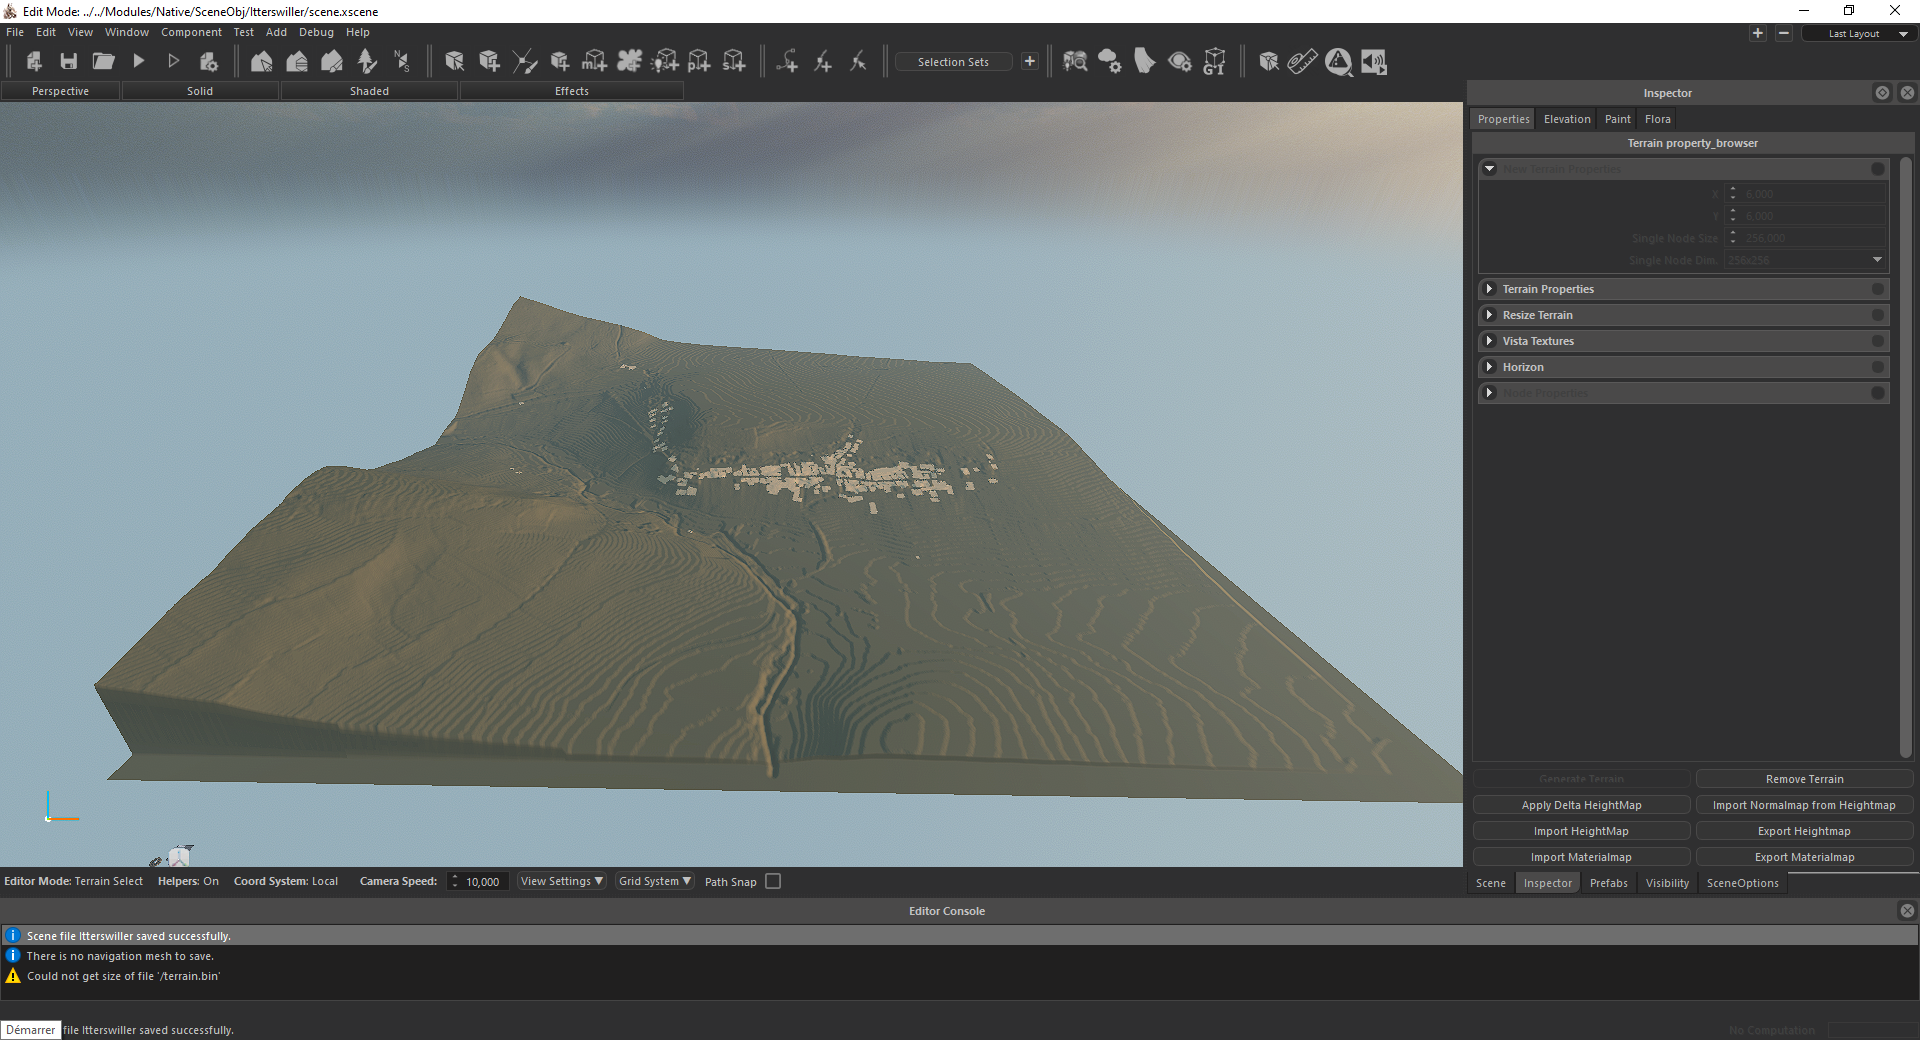
Use Ctrl+A to select all the terrain nodes and click “Import HeightMap”
You can now select the file generated by SceneFromGIS. The file will probably be named like “HEIGHTMAP_XX”.
Once the file is selected, you need to choose a “Scale” and “Offset”.
You have to find the good value for you, but if you selected a low “Z Factor”, you will have to use a large “Scale” value.
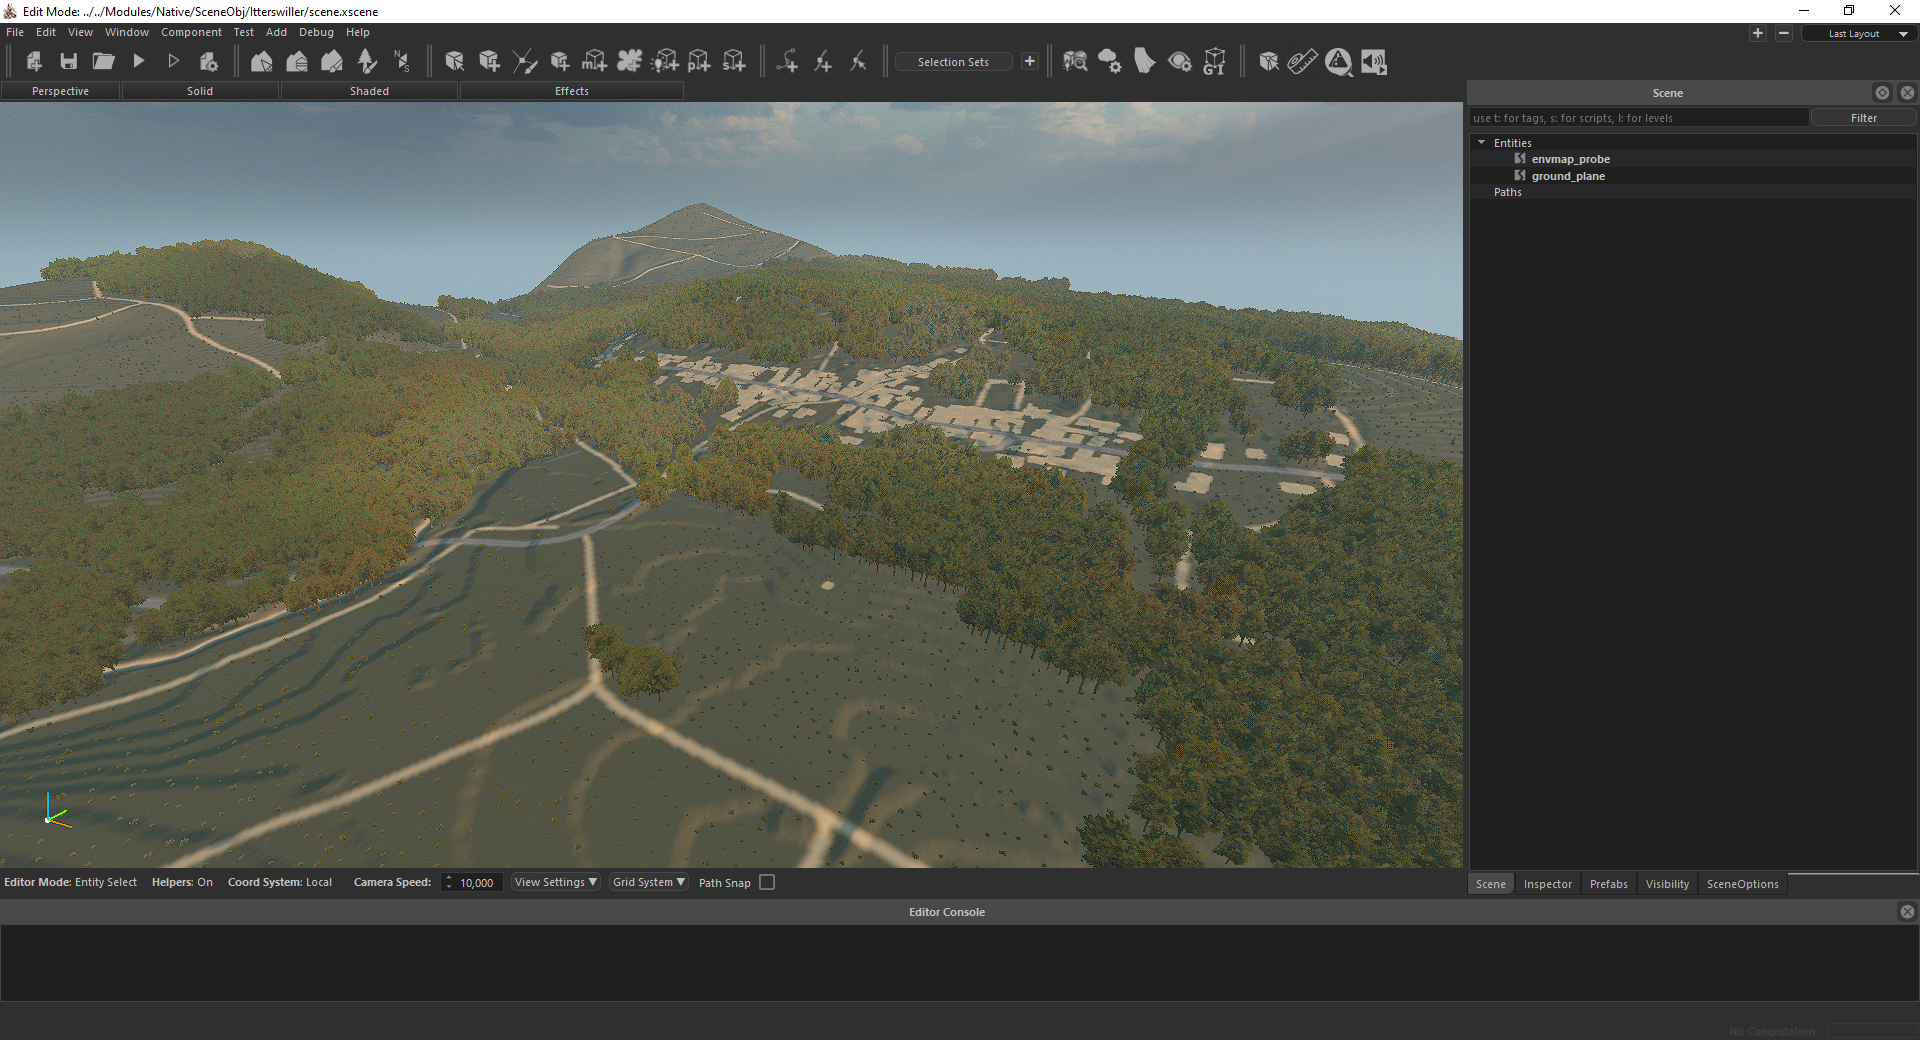
Once the import process is finished, your terrain should look like this.
Heightmap imported, Scale = 10000 and Offset = 0 |
Never forget that if your heightmap doesn’t fit as you want, you can always edit it in the editor or even in another tool like Gimp.
Now, we have to generate a new map for each layer we want to import.
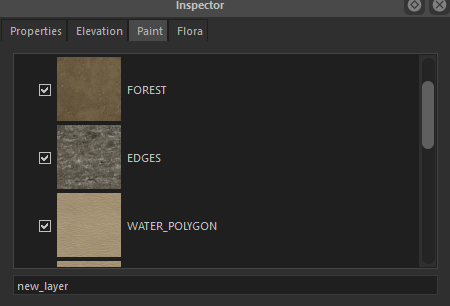
Select the “Paint” tab and click the “Add Layer” to create a new materialmap.
In our previous tutorials, we created 8 different maps. We need to create 8 layers. Avoid using the default template.
My personal choices :
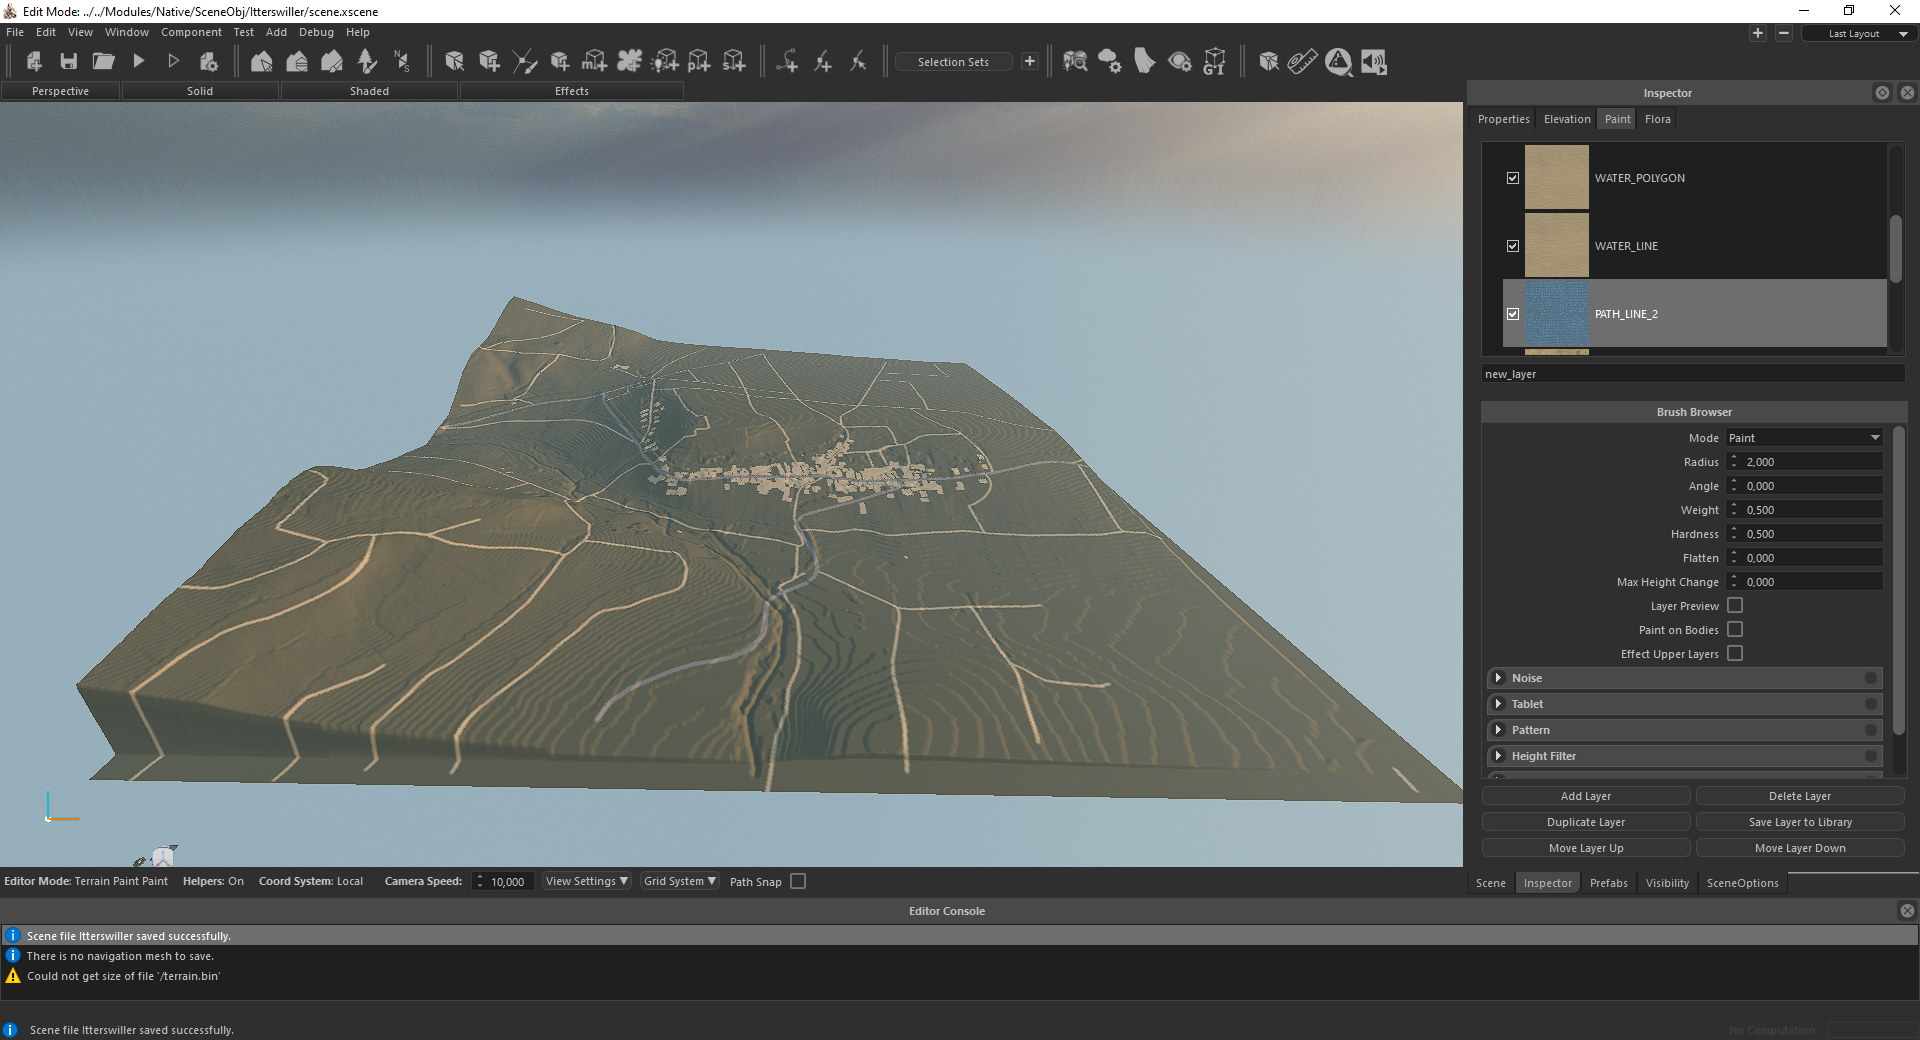
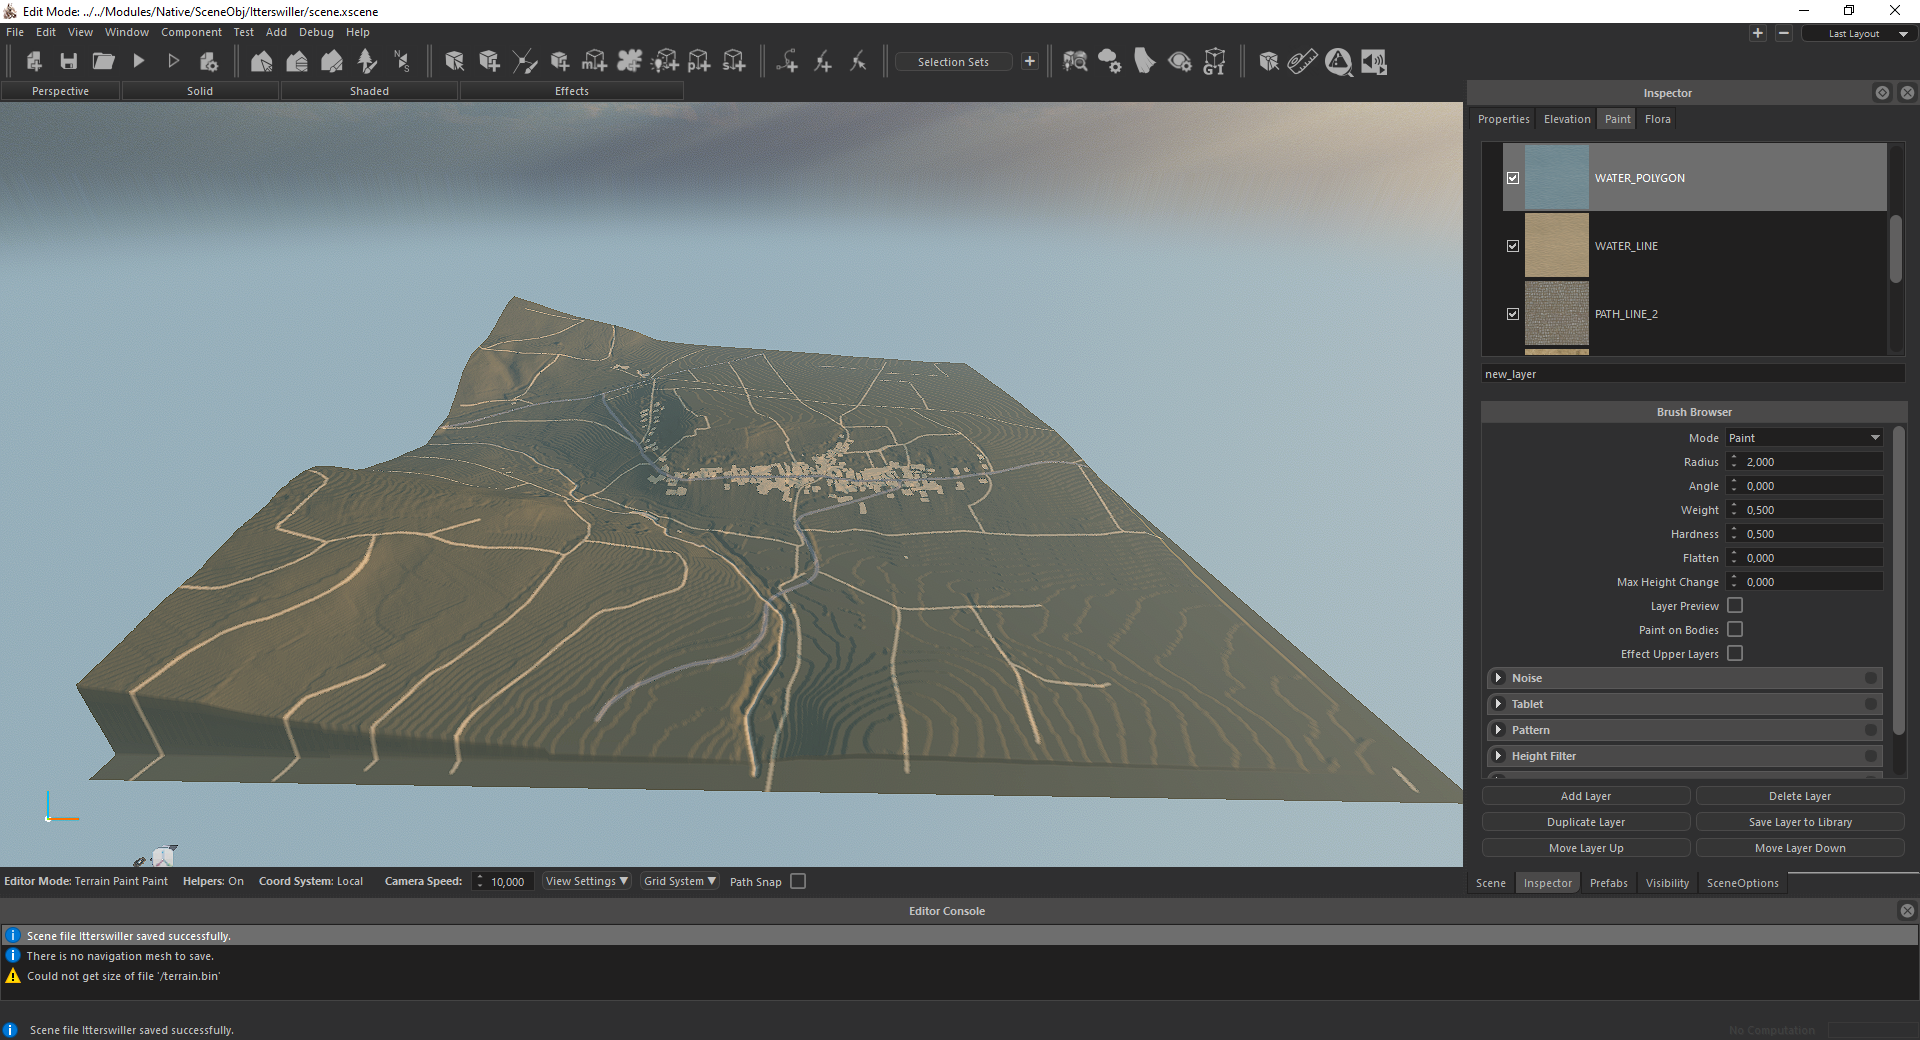
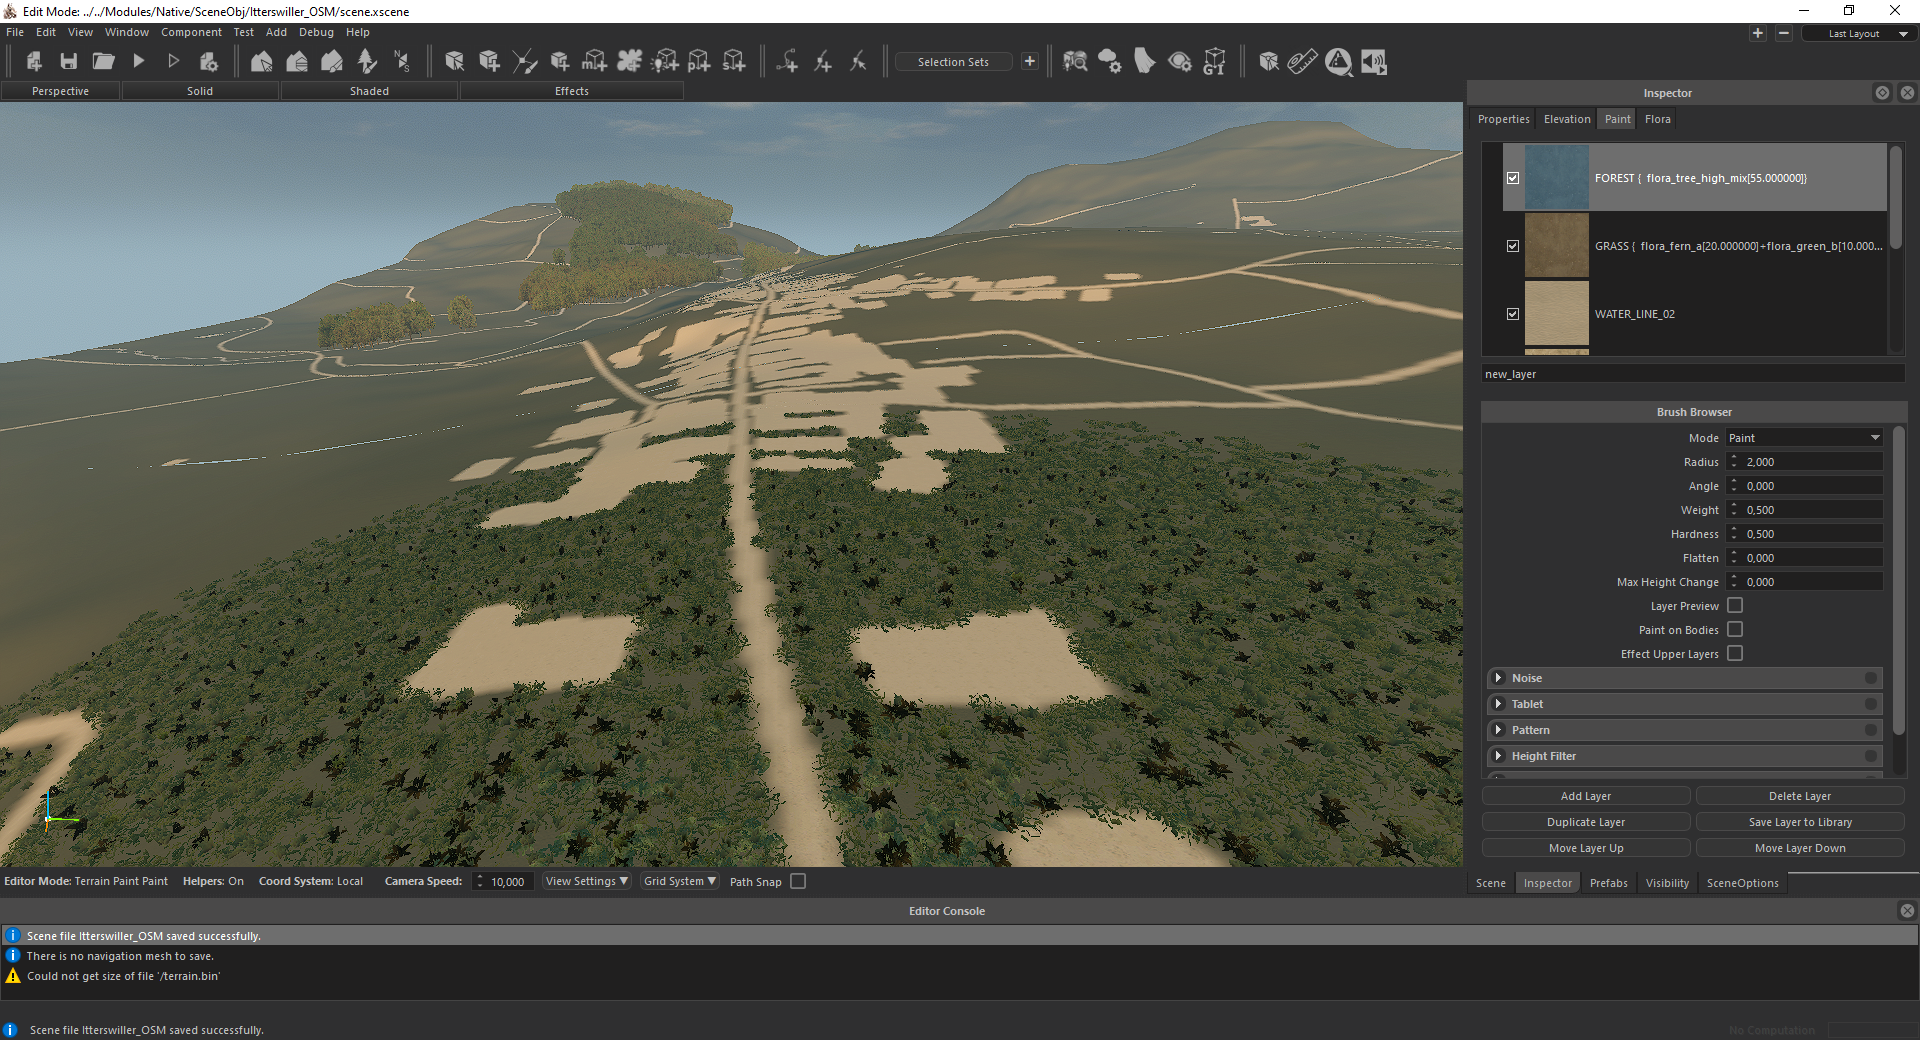
For each map we generated, select the layer in the “Paint” tab then click on the “Properties” tab and click “Import Materialmap”. You can then select your material map file.
Don’t forget to select all the terrain nodes before proceeding.
In this example, I changed the “import path” layer texture to a ground road texture.
Material maps importation | |
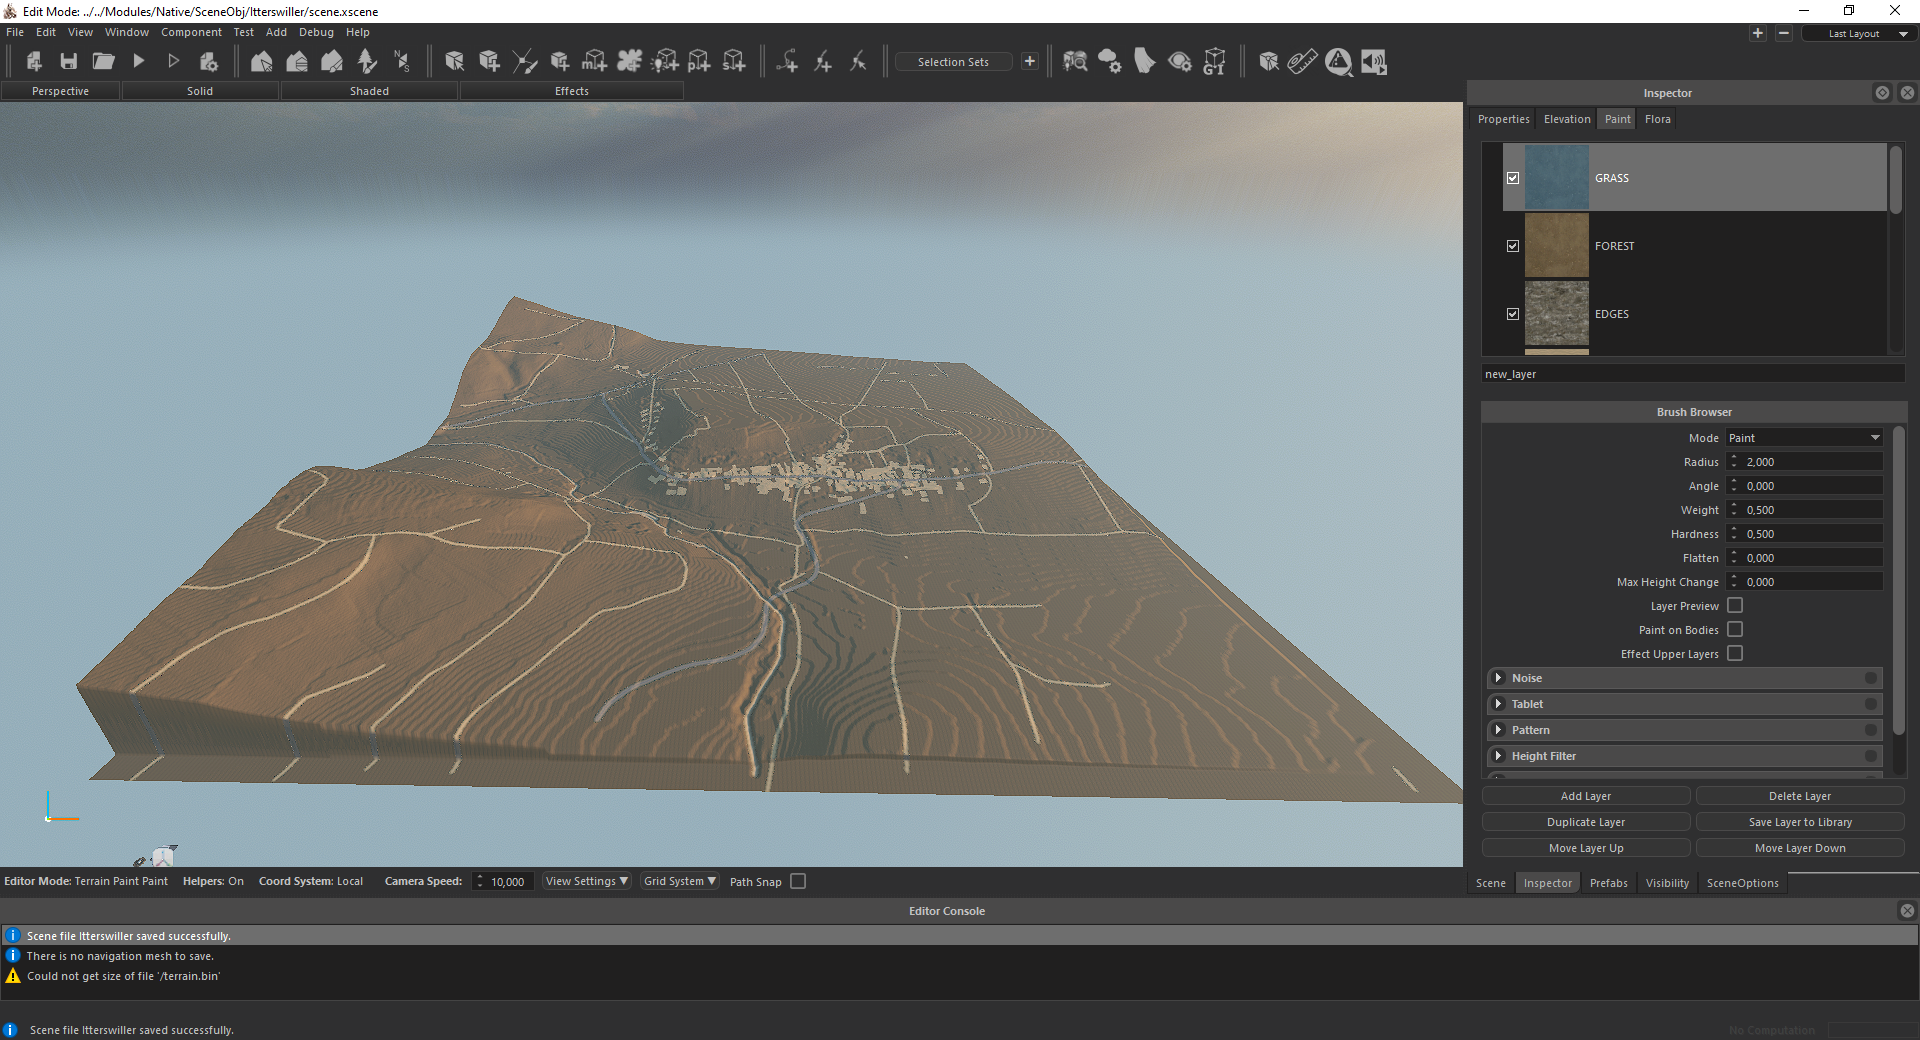
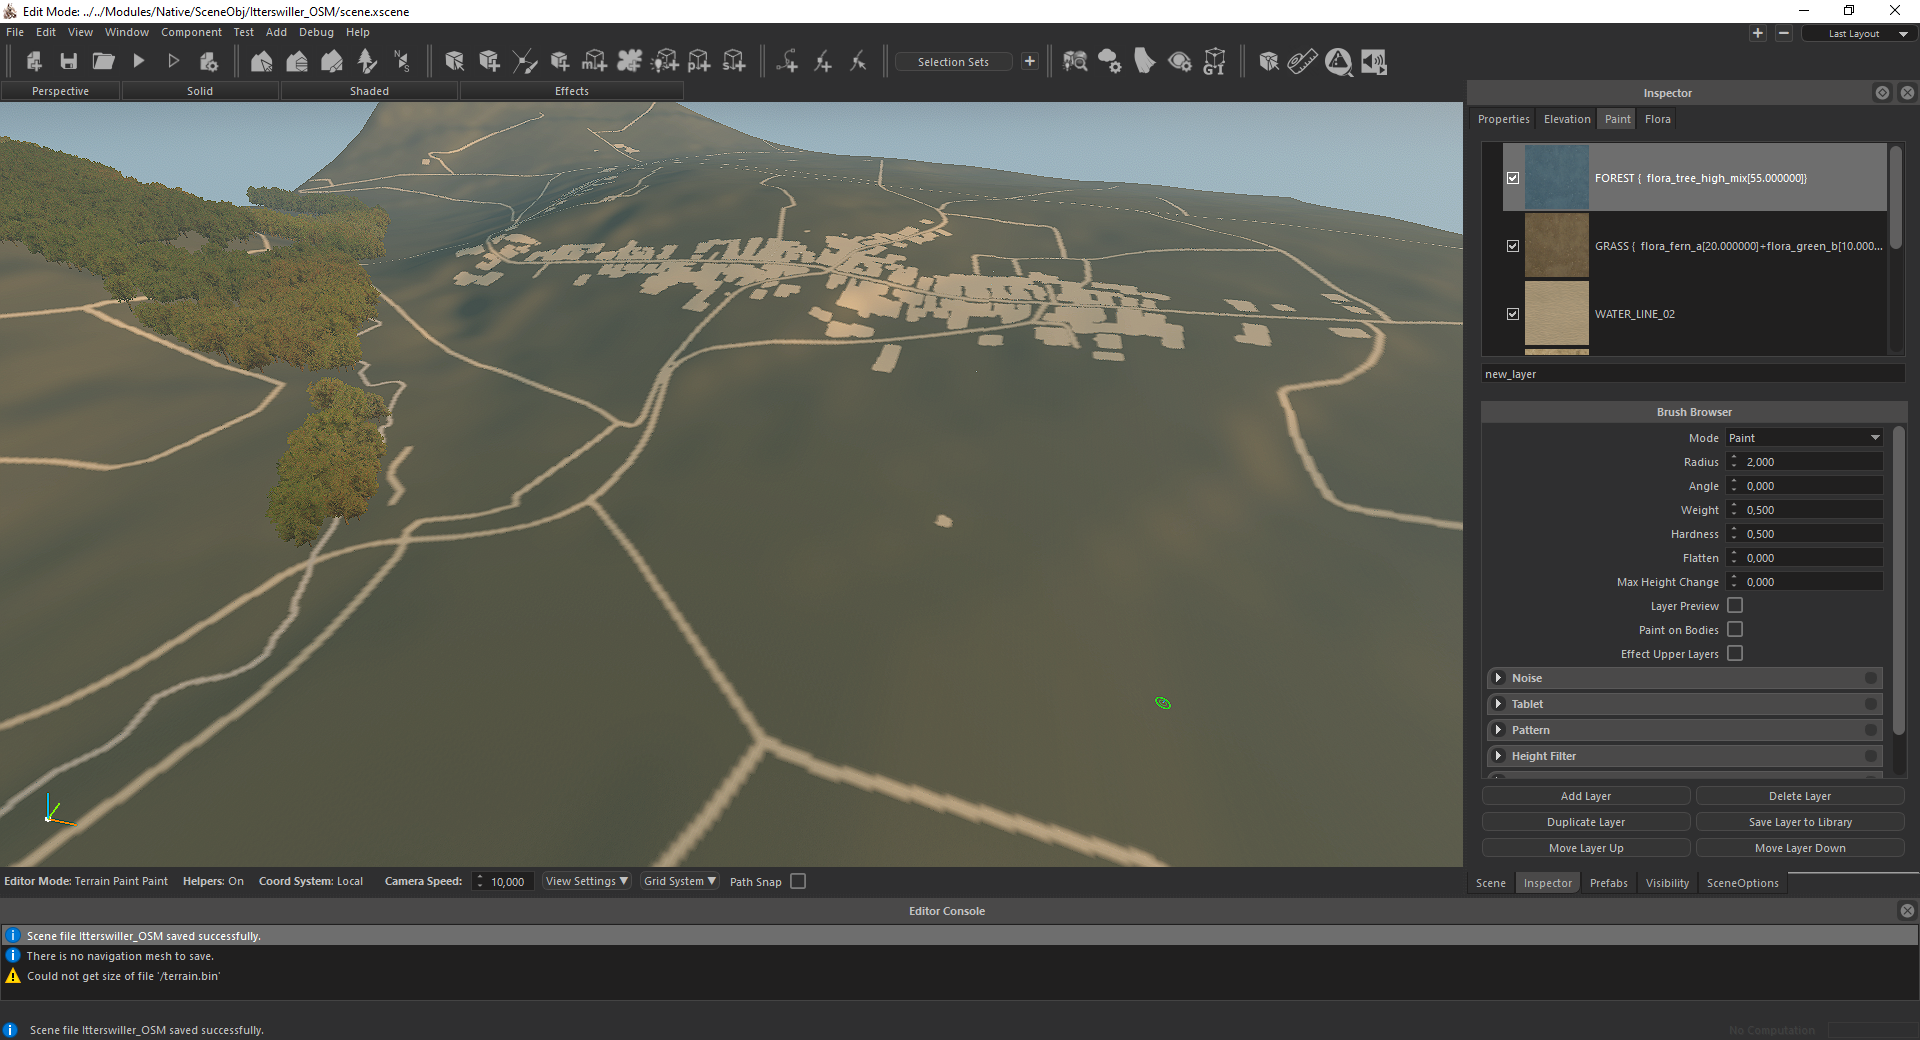
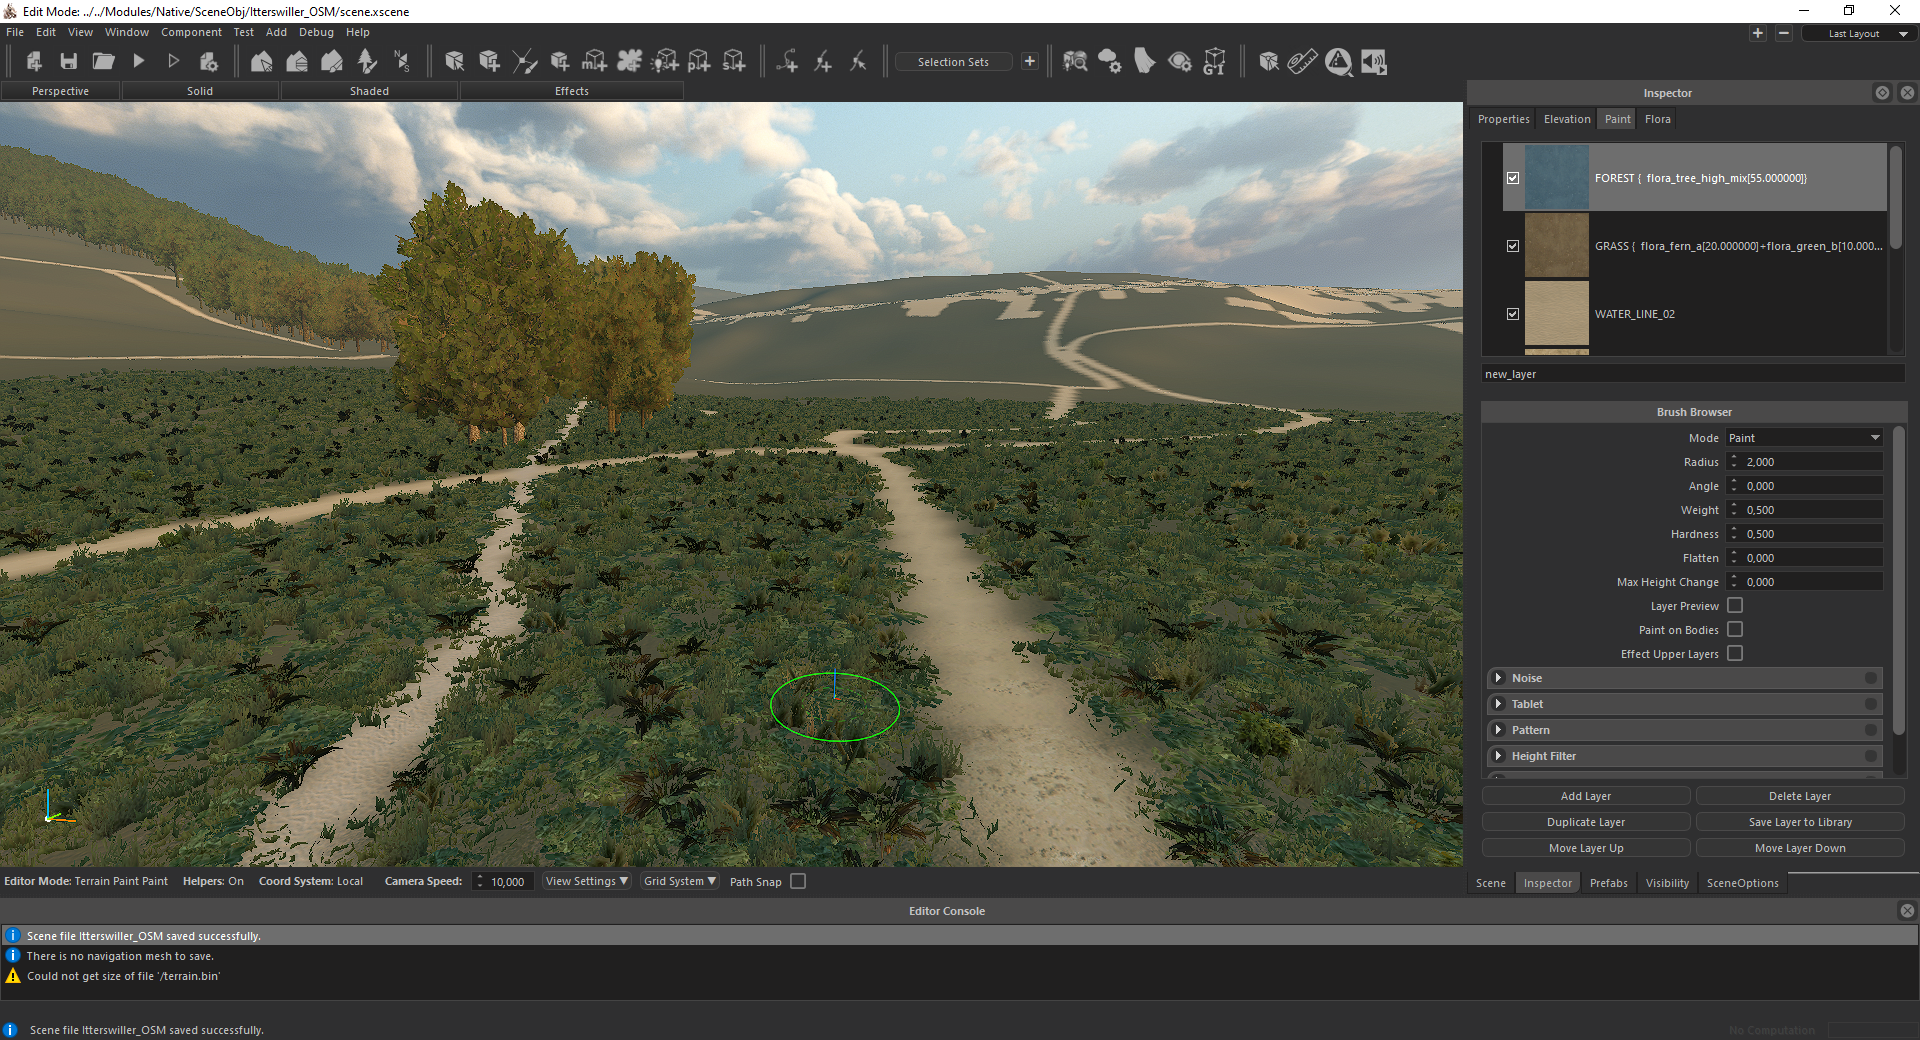
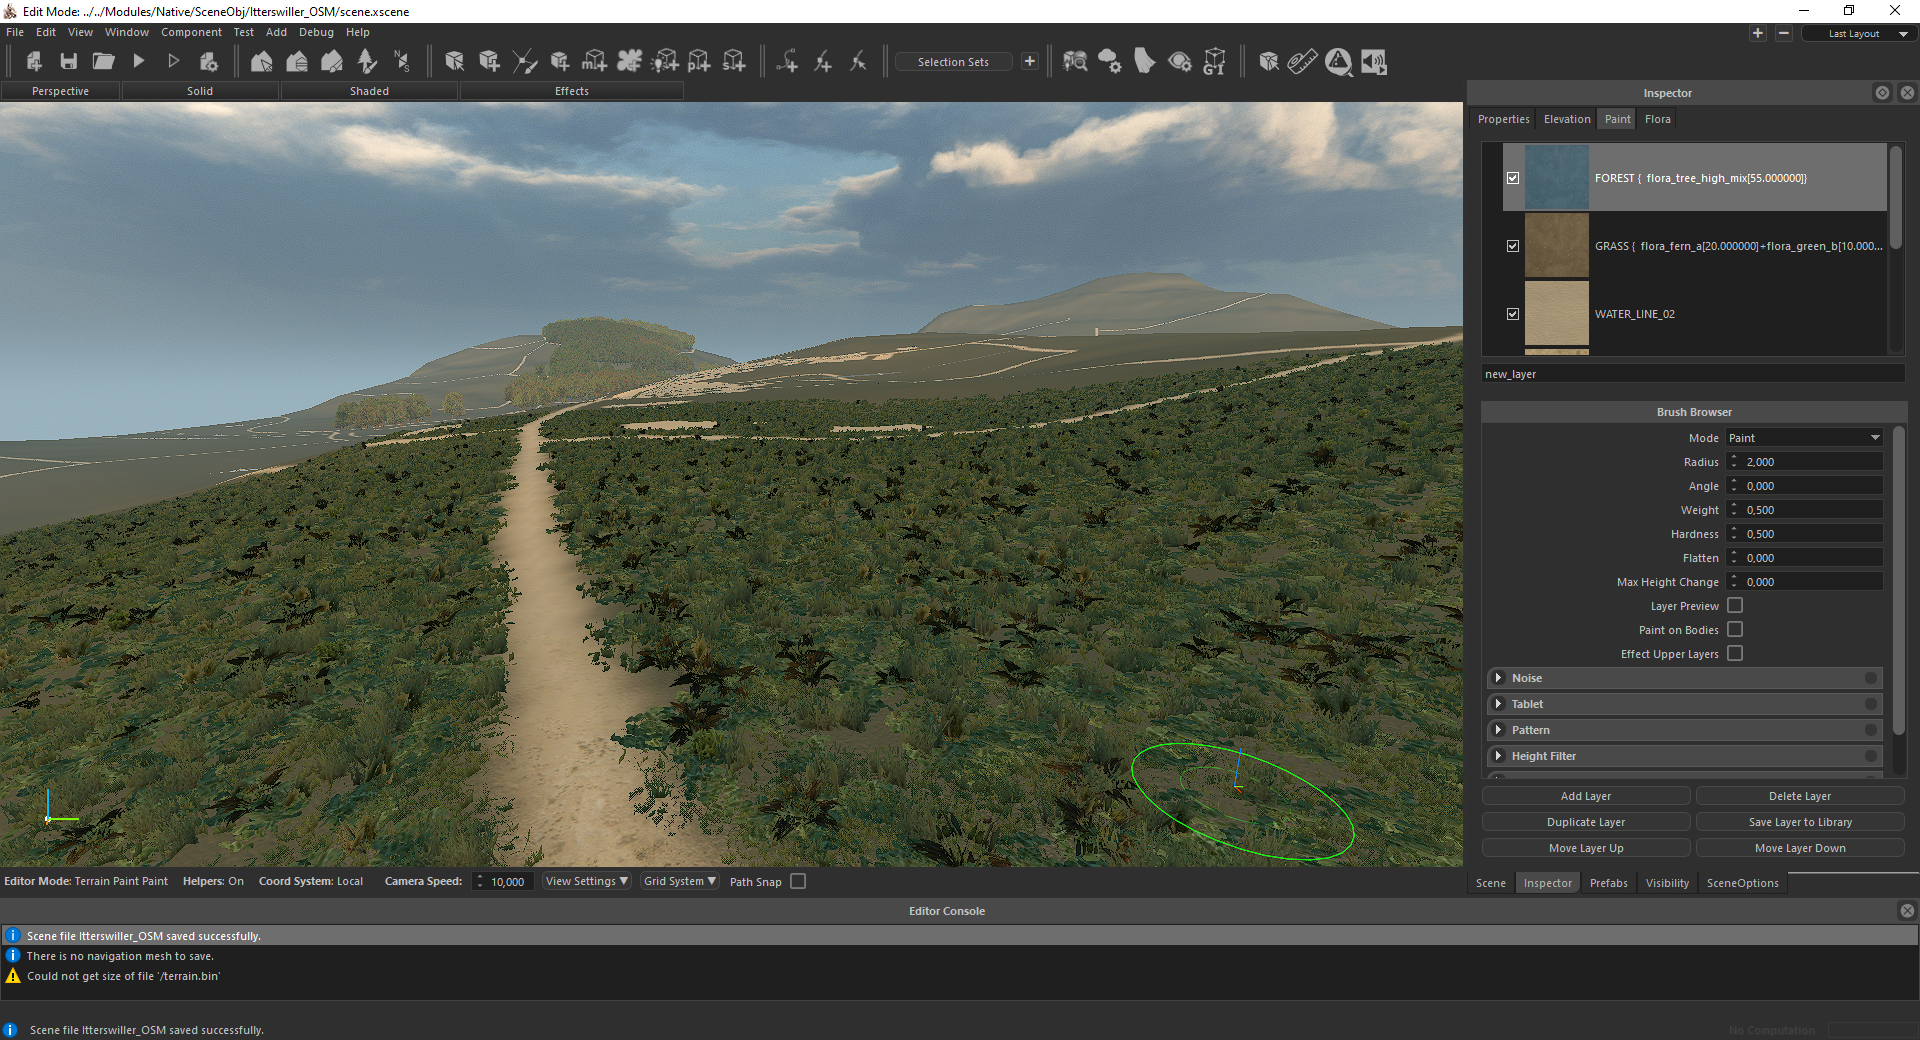
Once the layers are imported, it's very likely that the grass layer will cover almost 95% of the map.
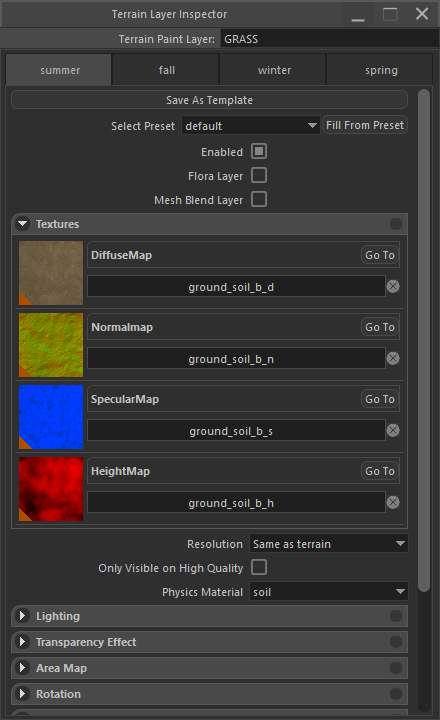
For the flora and forest, layer, we need to use them as flora layers. Double-click on the layer, and this will open the “Terrain Layer Inspector” window.
In this window, check the “Flora Layer” option and in the bottom of the menus, open the “Flora Meshes” menu to configure flora. We will not cover this in details in this tutorial.
Terrain Layer Inspector window with Flora Layer unchecked |
SceneFromGIS 2023
All Rights Reserved